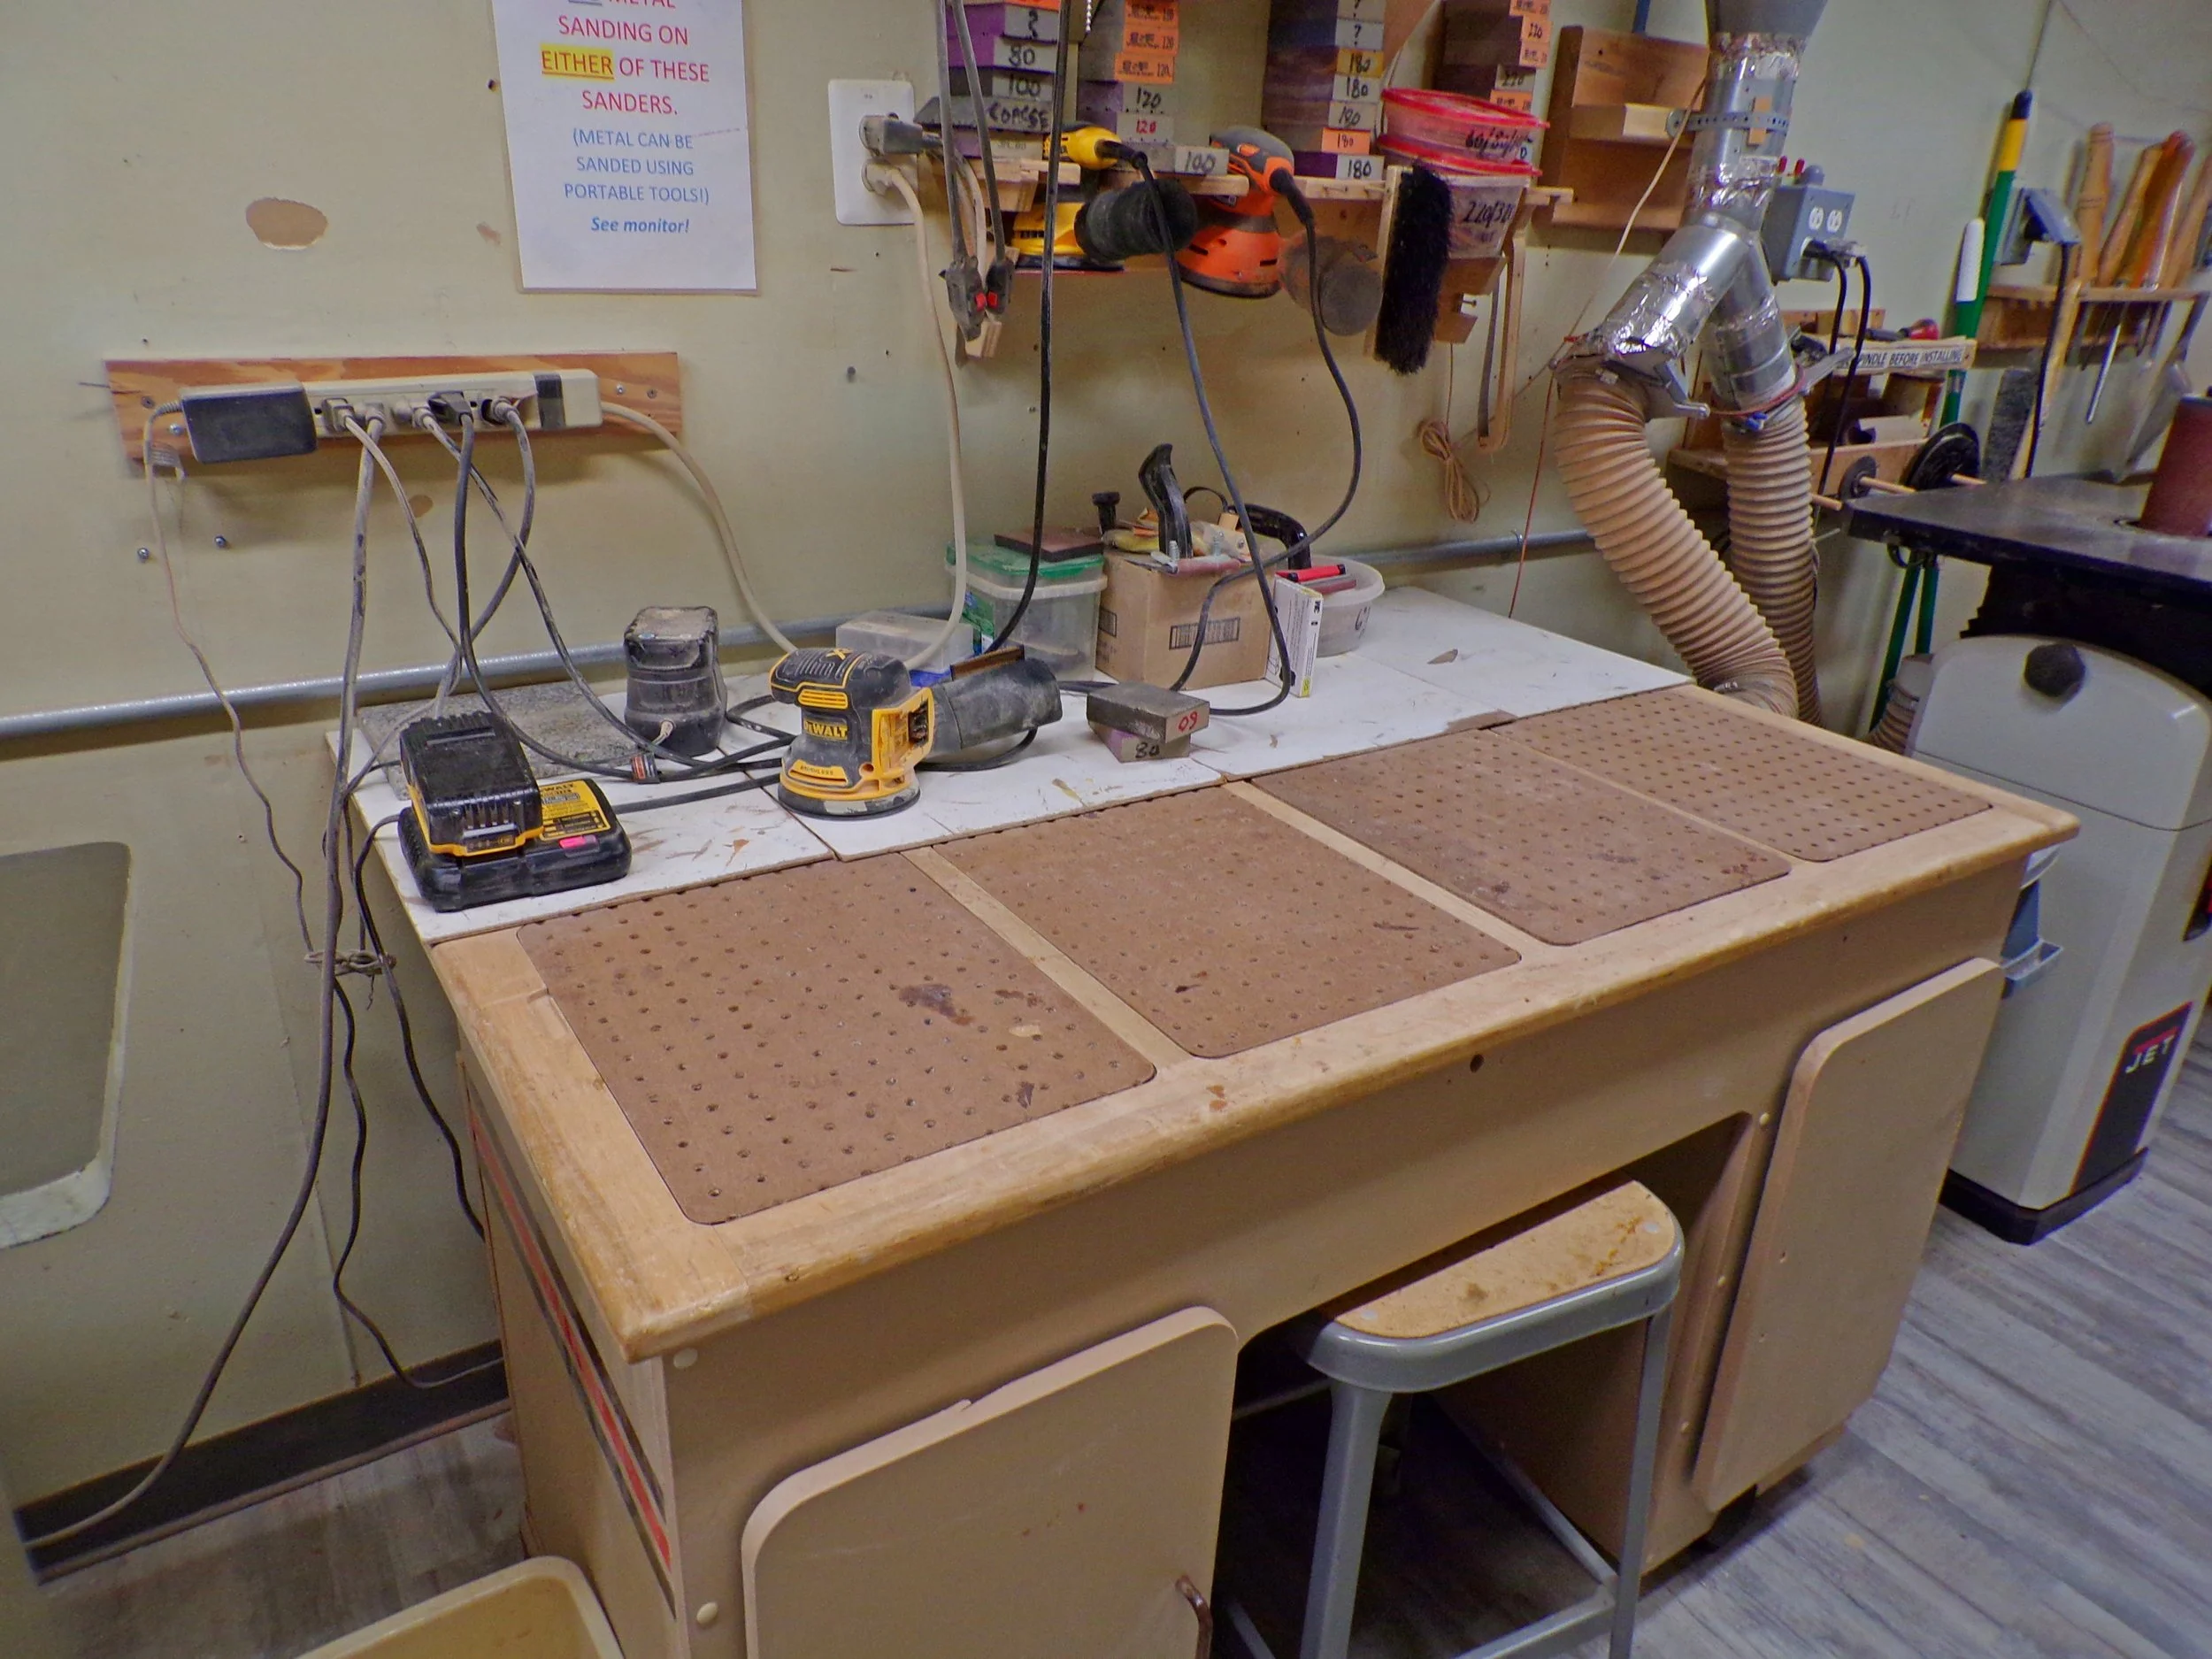
Sanding Machine Training
1. Setup Before Use
Check the level and square of the table: Adjust to the needed angle.
Clean the area around the machine: Ensure the workspace is clear.
Remove tools and other materials from the work table: Keep the surface free of obstructions.
Check the condition of the sanding surface: Inspect for wear or damage.
Check the condition of the machine: Ensure all parts are functioning properly.
Check the condition of the belt/disc: Clean the belt/disc often throughout ones process and after use.
2. Basic Safety Procedures
Before Use
Obtain sacrificial material: Use this to support small items during sanding.
Place supports for large items: Allow proper access and use.
Wear protection: Dust mask, eye protection, and ear protection are required.
Remove rings and jewelry: Secure any loose clothing.
During Use
Maintain support of the work item: Keep the piece steady.
Apply steady pressure: Avoid pushing too hard or too soft.
Listen for machine strain: Be alert for any unusual noises and smells.
Be aware of hand and finger positions: Avoid accidental contact.
In case of power interruption: Push the STOP button immediately.
3. Use of Sacrificial Wood or Supports
Use jigs and clamps: Secure the workpiece properly.
4. Machine Operation
Switch Activation
Properly activate and deactivate the machine.
Spindle/Roll Replacement
Replace spindles/rolls as needed, following the machine’s guidelines.
Table Adjustment
Adjust tables to the required angles for specific tasks.
Miter Gauge and Bevels/Chamfers
Use the miter gauge and adjust bevels/chamfers for precision.
5. Specialized Usage
Belt/Disc Sander:
Maintain a gap of approximately 1/16 inch between the table and belt or disc.
Tables should be set at 90 degrees, with options for a 45-degree downward tilt or a 25-degree maximum upward tilt on the disc table.
Use the left half of the disc to avoid kickback.
Keep fingers away from the moving belt or disc.
Drum Sander:
Advance increments by <1/3 turn.
Keep conveyor feed speed <70.
Run the piece on both surfaces before changing increments.
Feed only from the front side.
Note that the drum feature may leave burn marks on soft woods that are hard to remove.
Spindle Sander:
Use the insert to maintain a small gap around the spindle.
Set the table to a 45-degree maximum forward tilt and a 15-degree backward tilt.
Select a spindle slightly smaller than the desired curve.
Hold the work item firmly on the table surface.
Keep fingers away from spindle and sleeve openings.
Rough Surface Sander:
Use to remove paint, finish, and stain from pieces.
Feed the piece from front to back.
6. Maintenance
By Users/Monitors
Cleanup: After use, ensure the belt, machine and workspace are clean.
By Tech Team
Belt/Disc Sander:
Check the gap between the table and belt/disc.
Adjust tables as needed.
Oscillating Belt Sander:
Check increment settings.
Ensure surfaces are even.
Spindle Sander:
Check oil levels.
Inspect for dust accumulation in flues.
On Cleanup Day
Inspect sanding surfaces and inserts.
Check the level of tables.
Check the oil level on the spindle sander.
Check for dust accumulation in flues and clean as necessary.


