Router Table Training
1. Overview
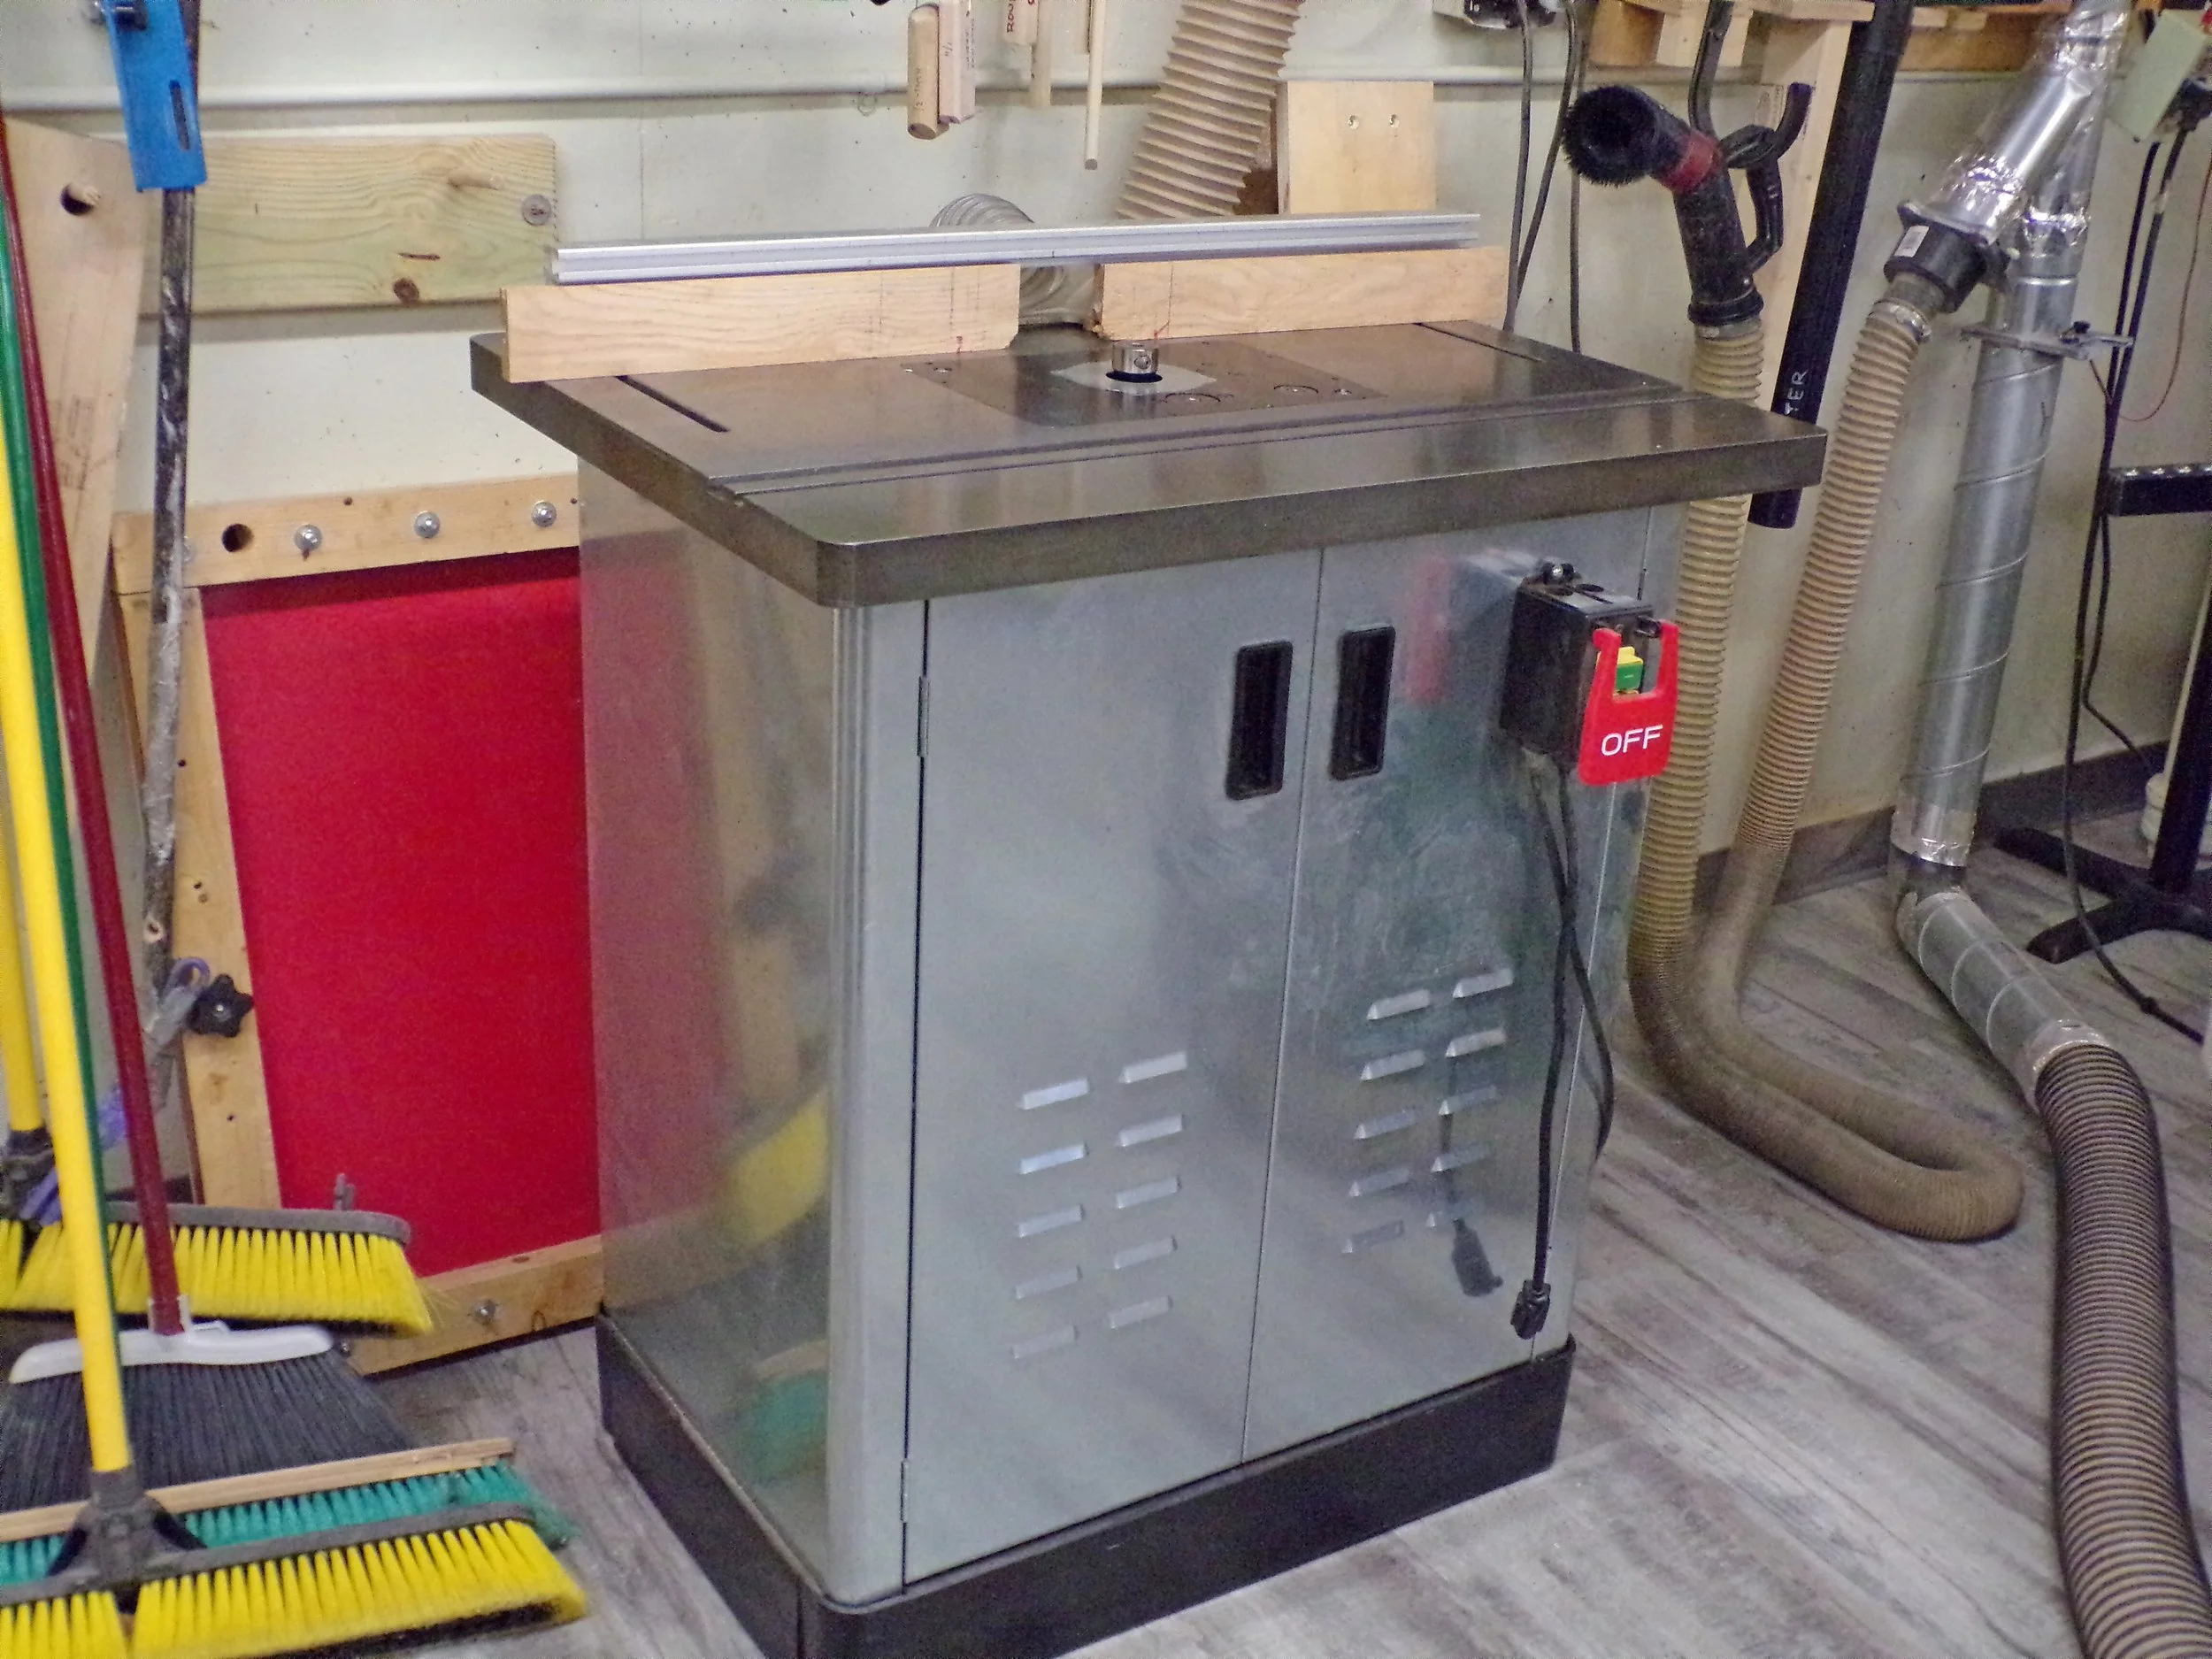
Purpose: The Router Table is a highly versatile tool used to shape wood. However, it is also potentially very dangerous due to the high speed of the cutting surface and the lack of a barrier between the blade and the user.
Complexity: Each Router Bit is designed for a specific purpose and must be used correctly. Incorrect bit selection or improper usage can damage or destroy the material.
2. Safety Guidelines
Eye Protection: Required for all users.
Router Bit Changes:
Always unplug the router before changing bits.
Ensure the proper fitting base plate is inserted.
Blade Speed: Allow the blade to reach full speed before feeding material through.
Guiding Material:
Use the fence when using non-bearing guide bits, if possible.
Never force the material, as this can cause burning and tear-outs.
Reporting Issues:
If the Router or Router Table is not functioning properly, report it to the Monitor on Duty, unplug the device, and place an 'Out of Order' sign on it.
Notify the Maintenance Team; the Router/Router Table will be unavailable until it is certified for use.
3. Adjustments
No Major Adjustments: Under normal operating conditions, the Router and Router Table should not require adjustments or modifications. Only the tech team may make adjustments or modifications.
Fence and Bit Height: Adjustments to the fence and bit height are considered necessary for proper usage, not modifications.
Reporting: Any adjustment or maintenance issues should be reported immediately to the Monitor on Duty and the Maintenance Team.
4. Common Mistakes
Inappropriate Material Size: Avoid shaping material that is too small.
Forcing Material: Pushing material through too quickly can cause damage to the work piece and the machine.
5. Limitations
Best Practices:
The Router works best when cutting with the wood grain.
When cutting across the grain, use a backer board to prevent end tear-outs.
For smoother cuts, use a 'Plunge Cut' every few inches to stop splintering at the plunge point.
It is better to make several shallow passes rather than one deep cut.
6. Usage Instructions
Pre-Check: Ensure the material to be processed is free of foreign objects that could damage the Router Bit.
Router Bit Installation:
Disconnect the power plug before installing a Router Bit.
Use the Height Adjustment Handle to unlock the cam lock and raise the collet chuck for access.
When inserting a bit, avoid letting it contact the bottom of the collet to prevent expansion during use, which could alter the cutting height.
Lock the collet bolt and adjust the height as needed. Ensure the proper Ring Plate is installed.
Vacuum System:
Ensure the Central Vacuum System is on.
Open the Central Vacuum gate.
Operating the Router:
Start the Router and wait until it reaches the proper speed before feeding material.
Be extremely cautious when nearing the Router Bit. Keep all clothing and body parts clear of the table and Bit.
Shutting Down:
Turn off the Router.
Close the Vacuum gate.
Clean all areas around the Router, including the feed table and floor.
Unplug the power plug before removing the Bit.